#
How to Create Proxmox Image
이 페이지에서는 Proxmox에서 클라우드 이미지를 제작하는 방법에 대해서 다루고 있습니다.
#
Reference
- How to create a Proxmox Ubuntu cloud-init image | austinsnerdythings
- proxmox-ubuntu-cloud-howto | Gist
- Proxmox Cloud-Init OS template creation | alibabacloud
#
Prerequisites
- Proxmox is installed.
#
How-to
# ubuntu 20.04 cloudimg
wget https://cloud-images.ubuntu.com/focal/current/focal-server-cloudimg-amd64.img

# 새로운 VM 이미지 생성 (vmid, memory, network 등)
qm create 9000 --core=8 --memory 16384 --net0 virtio,bridge=vmbr0 --agent 1 --balloon 0

# 다운로드한 이미지를 local-lvm 저장소로 가져오기
qm importdisk 9000 focal-server-cloudimg-amd64.img local-lvm

# VM에 새 디스크를 SCSI 드라이브로 연결 (ubuntu 의 경우, virtio-scsi-pci 를 필요로 함)
qm set 9000 --scsihw virtio-scsi-pci --scsi0 local-lvm:vm-9000-disk-0

# cloudinit 데이터를 VM을 전송을 위해 ide2 CDROM 드라이브를 구성
qm set 9000 --ide2 local-lvm:cloudinit

# bootdisk 를 scsi0 로 설정하여, BIOS가 디스크에서만 부팅되도록 제한
qm set 9000 --boot c --bootdisk scsi0

# We also want to configure a serial console and use that as display. Many Cloud-Init images rely on that, because it is an requirement for OpenStack images.
qm set 9000 --serial0 socket --vga serial0

# 작업 이미지를 템플릿으로 변환
qm template 9000
# 템플릿을 클론하기
qm clone 9000 101 --name ubuntu-20.04
# IP 주소 등록
qm set 101 --ipconfig0 ip=192.168.0.101/24,gw=192.168.0.1 --nameserver 8.8.8.8
# or qm set 101 --ipconfig0 ip=dhcp
# ID & PW 등록
qm set 101 --cipassword="somepassword" --ciuser=taking
# 디스크 사이즈
qm resize 101 scsi0 +60Glsblk |awk 'NR==1{print $0" DEVICE-ID(S)"}NR>1{dev=$1;printf $0" ";system("find /dev/disk/by-id -lname \"*"dev"\" -printf \" %p\"");print "";}'|grep -v -E 'part|lvm'
qm set 100 --sata0 /dev/disk/by-id/{YOUR DISK ID}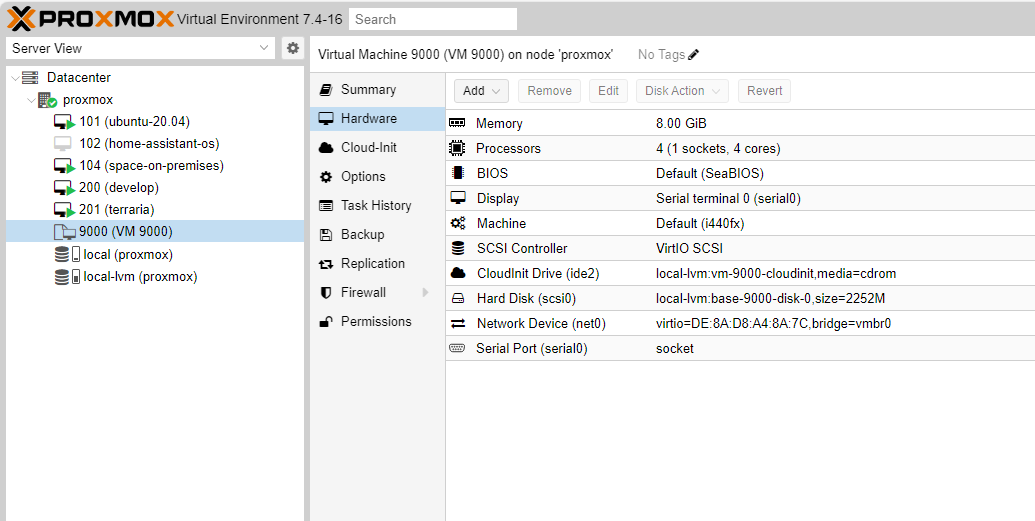
That's it! 🎉
#
memo
변경사항(업데이트)가 있을 시, 안내 없이 변경 될 수 있습니다.